Hummingbirds and Cherry Blossoms

Hello crafty friends, 

maybe you got that some crafty friends and I had a great weekend with lots of chatting, crafting and having fun. The cards I wanted to show you were mostly done with supplies I borrowed from my friends. 


At the Moment I'm having a crafty hangover. I guess I had so much trouble at the moment, that it became a big effort to go to my crafty table and make something creative. I have to admit, that my heart is broken as crafting is my love. Normally it helps me feeling better and relaxes. And this made me sad and I was struggling if it would make sense to go on a crafty weekend without wanting really to craft. But I went. 


And I´m glad I did. I went there to meet the most incredible crafty peeps we have here. They are so funny, we had great talks about everything, we had workshops and they had great supplies :D I felt like in heaven. I went trough their places looking for supplies I don't own. So I went home with six cards and not even one stamp set was mine. 


I'm sorry I talked so much about my problems and feeling at the moment. Maybe it makes you understand better my abstinence and poor posting. 

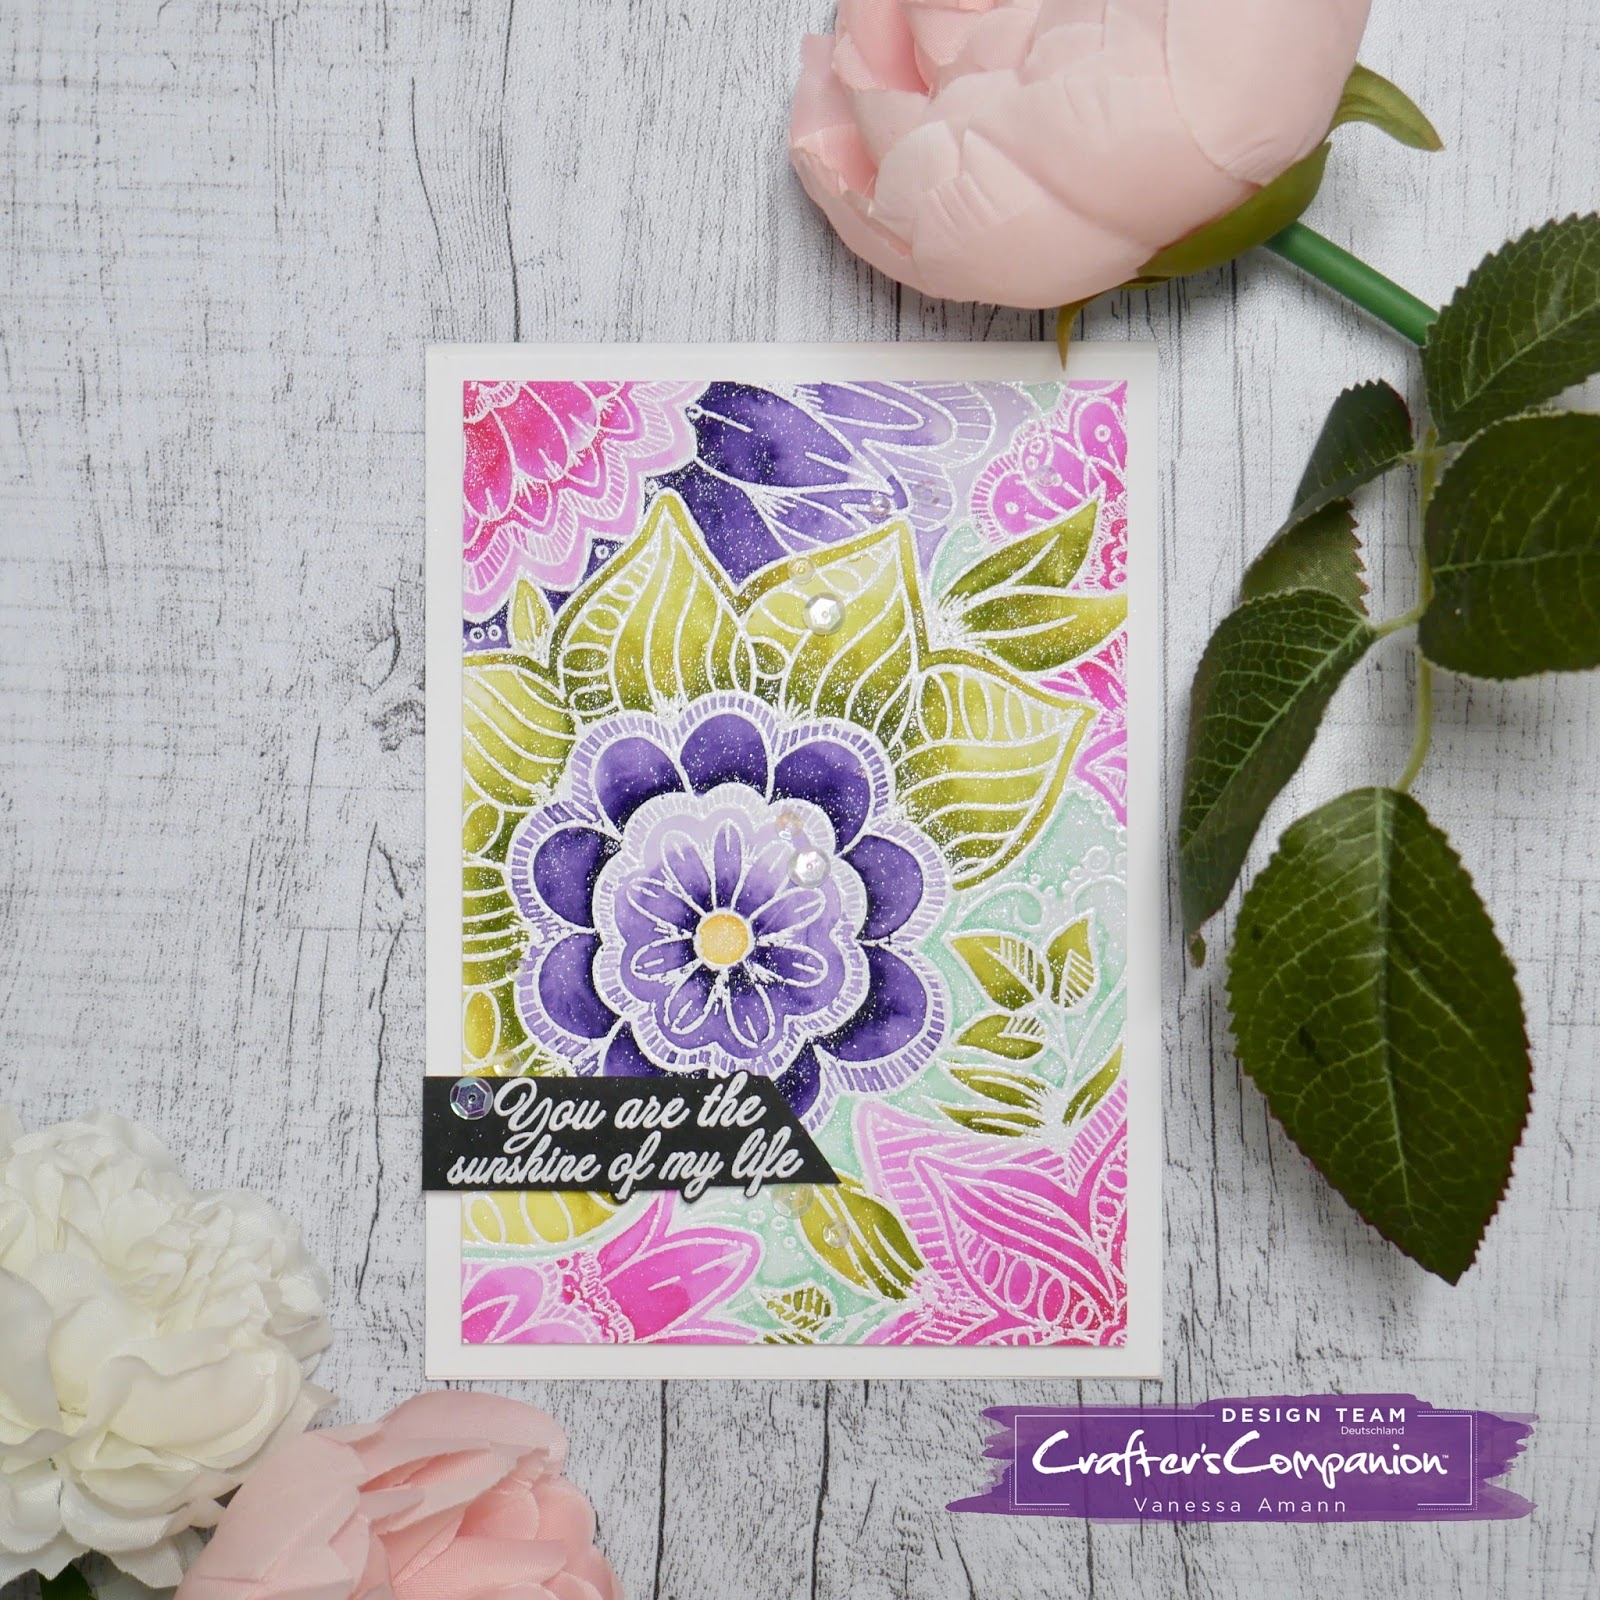
For my card. I started with coloring both stamp sets I borrowed from Annika Lerche. I stamped the sets with Memento Tuxedo Black ink and started coloring the images with my Copic markers. As mentioned I was struggling with getting creative and my best tipp for this kind of problem: take a stamp set you really love, stamp and color it. Nothing fancy, just playing. Sometime I already have a card design I love which I just replicate. But this time not. I started coloring and then wen to the Brother Scan n Cut for fuzzy cutting. Then I remembered Yana Smakulas cards and how dimensional they are. So I went for this style. At the end I had two great cards. I was so happy for finding my way back to being creative. 

The other cards from my crafty weekend will be posted soon as well. I wish you all a great monday. 


Here are the links for supplies I've used. Some of the links are affiliate links. They provide a little commission in case you buy products using my links with no extra costs for you. Products marked with (*) I generously received from the companies to use.

Copic MarkerCopic Marker
Foam Tape3M
FoliaBonefolder*
MementoTuxedo Black
My Favorite Things Wonky Stitched Rectangle
My Sweet PetuniaMISTI Tool
Neenah SolarWhite Paper Ultra Heavy
Pretty Pink poshSparkling Clear 4mm
Pretty Pink poshSparkling Clear 6mm
RangerGlossy Accents
Scotch 3MTape Glider
Sequins PickerSequins Picker
SizzixBigShot
Tim HoltzInk Blending Tool
Tim HoltzTumbled Glass Ink
Tim HoltzInk Blending Tool
Tim HoltzTonic Trimmer
TombowMono Multi 
Spectrum NoirSparkle Pen*
Pretty Pink PoshCherry Blossom
Pretty Pink PoshHummingbird Thanks
Brother Scan n Cut
MerkenMerken

Chibitronics & Winnie and Walter collaboration


Hello friends, 

today we are back with a little collaboration blog hop. Chibitronics is teaming with Winnie and Walter. We also have great prices to win, so please stay until the end. 


For my project for today I wanted to create a diamonds shining scene. Here for I colored my images and then heat embossed it with gold embossing powder. I also created some from vellum. Behind the diamonds I wanted to have the lights shining indirectly. A better Tutorial I have for you in my video. I  am always better in explaining while you can see it. 


As promised there is also a chance to win. All you need to do is to hop along the list and leave on each blog a comment. You have time until Tuesday, may 29th 11.59 pm to leave comments and have a chance to win. Chibitronics is giving away a Starter Kit valued with 30$ and Winnie and Walter is giving away a 30$ gift card.


Here are the links for supplies I've used. Some of the links are affiliate links. They provide a little commission in case you buy products using my links with no extra costs for you. Products marked with (*) I generously received from the companies to use. 

Foam Tape3M
FoliaAcrylblöcke
FoliaGlitzerkarton Classic
MementoTuxedo Black
My Favorite Things Stitched Rectangle Scallop Frame
My Sweet PetuniaMISTI Tool
Neenah SolarWhite Paper Ultra Heavy
Pretty Pink poshMarshmallow 4mm
Pretty Pink poshMarshmallow 6mm
RangerGlossy Accents
Scotch 3MTape Glider
Sequins PickerSequins Picker
Simon Says StampFog Ink
Spectrum Noir SparklesClear Overlay
,Tonic Trimmer
TombowMono Multi 
VersafineOnyx Black
VersamarkWatermark Ink
WOW EmbossingGold Rich super fine
Winnie and WalterMy Precious*


You are the sunshine of my life.

Hallo ihr Lieben,

das letzte Wochenende war ich gemeinsam mit einem Teil des Crafters Companion Team auf Bastelwochenende. Ich war sehr kreativ, habe viele tolle Gespräche gehabt und tolle, nette Menschen kennengelernt. 


Der Vorteil an so einem Bastelwochenende ist, dass man gerne auch mal Materialien austauscht. Kerstin hatte diesen tollen Stempel dabei, und er wurde direkt mit den Sparkle Pens bearbeitet und eine tolle Karte ist entstanden. 


Da die Sparkle Pens sehr hoch pigmentiert sind, reicht es, wenn man lediglich an der Stelle, an der es am dunkelsten sein soll, die Farbe aufträgt und anschließend mit dem Wassertankpinsel/ Pinsel verblendet. So entsteht schnell und einfach ein genialer Farbverlauf. Ich persönlich finde auch, dass Aquarell sehr gut zu dem Stempel und zu dem Look der Karte passt.


So, viel mehr habe ich leider auch nicht mehr zu sagen. Ich mache mich mal an die Bearbeitung der Bilder, da ich die nächsten Tage hier einiges posten möchte. 
Ich hoffe euch hat meine Karte gefallen, und dass wir uns ganz bald wieder sehen. 


Magical Day

Hello Chibitronic-fans :)

today I want to share with you this magical pullman slider switch card. First, I wanted to mentioned that at the beginning the card was planned as a regular LED card, with a push switch. But as I was creating my circuit I liked the idea of having a pullman slider switch and a hidden sentiment.


As always I created a tutorial for you. You can see HEREhow I created this card. I like doing the videos for you, as you always understand better how to create the card.
  • Stamp all the images on Neenah Solar White paper using Memento Tuxedo Black ink
  • Color all the images using Copic Markers (but for sure you could use what ever you want
  • Die cut the panel out of watercolor paper and ink blend the panel using Peacock Feathers, Wilted Violet and Blueprint Sketch Distress Ink. Splatter some waterdogs over the panel
  • Diecut another panel to create the circuit and create the regular circuit. Then you cut a strip of paper off, which goes trough one string (see picture below)
  • Take one piece of paper and cover it with copper tape. Then you fold it until it gets a star shape. The will work as a connector trough the missing part in the string.
  • Place the star shape in the cut out strip and tape it on a piece of paper. Mine was about 1" wide. This works as out pull tab. Other then I did in the video I would suggest to stamp the sentiment before glueing on the star shape.
  • Cover the circuit with a double layer of foam tape and tape it on the ink blended background we created.
  • The finished panel can now be taped on the cardbase.
  • Add all the critters, which were fuzzy cut and covered with clear Sparkle pen before.
  • I used some sequins from Lucys Little Things for finishing touches and then the card is all finished.


So, this was my card for today. I hope you enjoyed watching and reading how I created this card. I hope you've got inspired and I would like to see your project.
Vanessa


Here are the links for supplies I've used. Some of the links are affiliate links. They provide a little commission in case you buy products using my links with no extra costs for you. Products marked with (*) I generously received from the companies to use. 

Tim HoltzBlueprint Sketch
Tim HoltzInk Blending Tool
Tim HoltzPeacock Feathers
Tim HoltzWilted Violet
Tim HoltzInk Blending Tool
Tim HoltzTonic Trimmer
My Favorite ThingsMagical Day
ChibitronicsCuppertape
ChibitronicsPink, Orange, Green LED*
ChibitronicsStarter Kit
Studio KatiaOval Die
NeenahSolar White 80mg/m
Spectrum Noir SparklesClear Overlay
Copic MarkerCopic Marker
BatterieBatterie
MementoTuxedo Black
VersafineOnyx Black
VersamarkWatermark Ink
WOW EmbossingOpaque White Embossing Powder

Hallo Baby

Hallo ihr Lieben,

wie versprochen melde ich mich nun zurück. Heute, mal wieder, mit Baby Karten. Wie bereits Mehrach erwähnt, kommen im Familien- und Bekanntenkreis demnächst sehr viele kleine Wunder auf die Welt, und da will ich einfach vorbereitet sein. 


In meinem Video zeige ich euch, wie ich die Karten gemacht habe. Insgesamt ist ein Set mit 6 Karten entstanden. Das Design mehr oder minder immer gleich. Allerdings sind drei der Karten Action Wobble Karten geworden, und drei sind ohne. Action Wobble sind kleine Springfedern. Man klebt sie hinter ein beliebiges Motiv, dieses Motiv bewegt sich dann hin und her. 


Hier habe ich nochmal versucht euch zu zeigen, wie diese Action Wobble ausschauen. Heute gibt es keine Kartenerklärung von mir. da das dazugehörige Video nur sehr kurz ist und man aus Bildern viel mehr lernt als aus schriftlichen Erklärungen. 


Ich hoffe sehr, dass euch mein Projekt für heute gefallen hat, und dass ich euch inspirieren konnte. Würde mich freuen, wenn wir uns ganz bald wieder sehen.


Here are the links for supplies I've used. Some of the links are affiliate links. They provide a little commission in case you buy products using my links with no extra costs for you. Products marked with (*) I generously received from the companies to use. 


Clearly Besotted StampsUp in the Air
Tim HoltzInk Blending Tool
Tim HoltzTumbled Glass Ink
VersafineOnyx Black
Tim HoltzTonic Trimmer
FoliaMotivblock Basic Intensiv
Create a SmileStitched Rectangle
KuretekZig Real Color Brush Pens
Neenah SolarWhite Paper Ultra Heavy
Little Things By LucySequins
Hampton ArtsMini Action Wobble


Hurra, du bist da!

Hallo ihr Lieben,

mit dieser Karte möchte ich mich wieder zurück melden. Das "Hurra, du bist da!" ist eigentlich für eine Baby Karte gedacht, für mich aber der symbolische weg zurück. Ihr glaubt garnicht wie schwer es ist, aus so einem KreaTIEF wieder heraus zu kommen. Es fällt mir wirklich schwer. Aber es wird langsam. 


Mit dieser Karte wollte ich zeigen, wie man aus den kleinen, unwichtigeren Stempel einen Fokus auf seiner Karte kreieren kann. Denn, der eigentliche Hingucker von dem Stempelset ist ein Kuchen auf einer Etagere. 

Die Wimpelkette habe ich mehrfach über meinen Hintergrund gestempelt und mit Gold embossed. Genau so habe ich es mit dem Spruch getan. Nachdem der Hintergrund embossed wurde, habe ich verschiedene blaue Spectrum Noir Sparkle Pens verwendet und mit einer Sprühflasche Wasser drauf gesprüht. Die Farben verlaufen dann so zauberhaft und jedes Mal schaut es anders aus. Das liebe ich an dieser Technik. 

Vereinzelt habe ich die Banner mit den selben Farben angemalt, aber nicht alle. Schlussendlich habe ich ein paar Pailletten über die Karte verteilt und das gute Stück war dann auch schon fertig. 


Ich hoffe sehr, dass euch die Karte gefallen hat und dass wir uns zum nächsten Mal wieder sehen. 


Crafters CompanionTeatime Cake*
Crafters CompanionNeenah Solar White*
Crafters CompanionRock a Block*
Crafters CompanionWatercolour Paper*
Crafters CompanionFoam Pads*
EK SuccessPowder Tool
Fiskars Schneidebrett
FoliaBonefolder
Lifestyle CraftersQuick Stick Tool
Little Things By LucySequins
VersamarkWatermark Ink
WOW EmbossingGold Rich super fine
Spectrum NoirSparkle Pen